Bob Evans Rolls Recipe: Your Ultimate Guide To Perfect Homemade Rolls
There’s nothing quite like the smell of freshly baked bread wafting through your kitchen, and with the Bob Evans rolls recipe, you can recreate that irresistible magic right at home. Whether you’re hosting a dinner party, preparing for a family gathering, or just craving a comforting snack, these rolls are sure to impress. So, grab your apron and let’s dive into the world of buttery, fluffy perfection!
Now, you might be wondering, “Why should I bother making homemade rolls when I can just buy them from the store?” Well, my friend, there’s a world of difference between store-bought and homemade. Not only do homemade rolls taste infinitely better, but they also give you that sense of accomplishment and pride that only comes from baking something truly special. Plus, you can customize them to your liking!
Before we get started, let me tell you a little secret: making Bob Evans-style rolls is easier than you think. Sure, it takes a bit of time and patience, but trust me, the end result is well worth it. So, whether you’re a seasoned baker or a complete newbie, this guide will walk you through every step of the process. Let’s get rolling!
- Justin Danger Nunley Vom Tiktokstar Zum Unternehmer Sein Erfolgsgeheimnis
- Lesley Stahl Enthllt Das Lebenswerk Einer Journalistenlegende
Why Bob Evans Rolls Recipe Stands Out
Bob Evans rolls have become a household name for a reason. These golden, pillowy rolls are a staple at family gatherings and holiday dinners, and they’re loved by people of all ages. But what makes them so special? For starters, their texture is unmatched—soft on the inside, with a slightly crispy exterior that melts in your mouth. And let’s not forget the flavor! The perfect balance of butter, sugar, and spices makes these rolls a crowd-pleaser every time.
Another reason why this recipe stands out is its versatility. Once you master the basics, you can experiment with different variations, such as adding herbs, cheese, or even garlic for an extra kick. The possibilities are endless, and the best part? You can make these rolls your own while still maintaining that classic Bob Evans charm.
What You’ll Need to Get Started
Before we dive into the recipe, let’s talk about the tools and ingredients you’ll need. Having everything ready beforehand will make the process smoother and more enjoyable. Here’s a quick checklist:
- Aisling Franciosi Der Aufstieg Eines Stars Was Macht Sie So Besonders
- Entdecke Lala Kudo Aufstieg Und Einfluss Einer Avikone
- Large mixing bowl
- Measuring cups and spoons
- Wooden spoon or spatula
- Rolling pin
- Baking sheet
- Parchment paper
As for the ingredients, you’ll need the following:
- 2 1/4 teaspoons of active dry yeast
- 1/2 cup of warm milk (about 110°F)
- 1/4 cup of unsalted butter, melted
- 1/4 cup of granulated sugar
- 1 large egg
- 1 teaspoon of salt
- 3 cups of all-purpose flour (plus extra for dusting)
Step-by-Step Guide to Making Bob Evans Rolls
Now that you’ve got everything you need, let’s break down the process step by step. Don’t worry if you’re new to baking—this recipe is designed to be beginner-friendly.
1. Activate the Yeast
In a small bowl, combine the warm milk and yeast. Stir gently and let it sit for about 5-10 minutes. During this time, the yeast will activate and start to foam up. This step is crucial because it ensures that your rolls will rise properly.
2. Mix the Wet Ingredients
In a separate bowl, whisk together the melted butter, sugar, egg, and salt. Once the yeast mixture has foamed up, add it to the wet ingredients and mix until well combined.
3. Add the Flour
Gradually add the flour to the wet mixture, one cup at a time. Be sure to stir thoroughly after each addition. Once the dough starts to come together, transfer it to a floured surface and knead for about 5-7 minutes. The dough should be smooth and elastic when you’re done.
4. Let It Rise
Place the dough in a lightly greased bowl, cover it with a clean kitchen towel, and let it rise in a warm, draft-free area for about 1-2 hours. The dough should double in size during this time. If you’re short on time, you can speed up the rising process by placing the bowl in a slightly warm oven.
5. Shape the Rolls
Once the dough has risen, punch it down to release any air bubbles. Divide the dough into equal portions and shape each piece into a smooth ball. Place the rolls on a baking sheet lined with parchment paper, leaving about 1-2 inches of space between each roll.
6. Let It Rise Again
Cover the rolls with a kitchen towel and let them rise for another 30-45 minutes. This second rise will ensure that your rolls are light and fluffy.
7. Bake to Perfection
Preheat your oven to 375°F (190°C). Once the rolls have finished their second rise, brush them with a little melted butter for a golden finish. Bake for 15-20 minutes, or until the tops are lightly browned. Remove from the oven and let them cool slightly before serving.
Tips and Tricks for Perfect Rolls
Here are a few tips to help you achieve bakery-quality rolls every time:
- Use warm milk, not hot, to activate the yeast without killing it.
- Knead the dough thoroughly to develop the gluten, which gives the rolls their structure.
- Don’t skip the rising steps! They’re essential for achieving that light, airy texture.
- Brush the rolls with melted butter as soon as they come out of the oven for an extra-rich flavor.
Variations to Try
Once you’ve mastered the basic recipe, feel free to experiment with different flavors and textures. Here are a few ideas to get you started:
1. Garlic Herb Rolls
Add minced garlic and dried herbs (such as rosemary or thyme) to the dough for a savory twist. Brush the rolls with garlic butter before baking for an extra punch of flavor.
2. Cinnamon Sugar Rolls
Roll out the dough and spread it with a mixture of softened butter, cinnamon, and sugar. Roll it up tightly, slice into rounds, and bake as directed for a sweet treat.
3. Cheese Rolls
Before shaping the rolls, sprinkle shredded cheese (such as cheddar or Parmesan) over the dough and fold it in. This adds a delicious cheesy flavor that pairs perfectly with soups and stews.
Healthier Alternatives
If you’re looking to make a healthier version of Bob Evans rolls, here are a few substitutions you can try:
- Use whole wheat flour instead of all-purpose flour for added fiber.
- Reduce the sugar content by half for a less sweet version.
- Substitute olive oil for butter to cut down on saturated fats.
Storage and Reheating Tips
Once your rolls are baked, you’ll want to store them properly to keep them fresh. Here’s how:
For short-term storage, place the rolls in an airtight container or plastic bag and store them at room temperature for up to 2-3 days. To reheat, wrap them in foil and pop them in the oven at 350°F (175°C) for 5-10 minutes.
If you want to freeze the rolls, wrap them tightly in plastic wrap and then place them in a freezer-safe bag. They’ll keep for up to 3 months in the freezer. To reheat, thaw them overnight in the fridge and then bake as directed above.
Bob Evans Rolls Recipe FAQs
Here are some common questions people have about making Bob Evans rolls:
1. Can I Use Instant Yeast?
Absolutely! Instant yeast can be used in place of active dry yeast. Just mix it directly into the flour instead of dissolving it in milk first.
2. How Long Do the Rolls Take to Bake?
Depending on the size of your rolls, they should take about 15-20 minutes to bake. Keep an eye on them during the last few minutes to ensure they don’t overcook.
3. Can I Make the Dough Ahead of Time?
Yes! You can prepare the dough up to a day in advance and store it in the fridge. Just let it come to room temperature before shaping and baking.
Conclusion: Roll Up Your Sleeves and Get Baking!
And there you have it—your ultimate guide to making Bob Evans rolls at home! Whether you’re a baking enthusiast or just someone who loves good food, this recipe is sure to become a staple in your kitchen. So, gather your ingredients, follow the steps, and get ready to enjoy some of the best homemade rolls you’ve ever tasted.
Don’t forget to share your creations with friends and family, and let us know how they turned out in the comments below. Happy baking, and see you in the next article!
Table of Contents
- Why Bob Evans Rolls Recipe Stands Out
- What You’ll Need to Get Started
- Step-by-Step Guide to Making Bob Evans Rolls
- Tips and Tricks for Perfect Rolls
- Variations to Try
- Healthier Alternatives
- Storage and Reheating Tips
- Bob Evans Rolls Recipe FAQs
- Conclusion
- Sensation Robert De Niros Kind Ist Transgender Alles Ber Aaron Kendrik
- Nayzinha Enthllt Erfolge Gefahren Der Content Creator Welt

a white plate, with Bob Evans Sausage Gravy Recipe and scrambled eggs

Bob Evans Boiled Dinner Roll Bob Evans sausage into heaping tsps. full
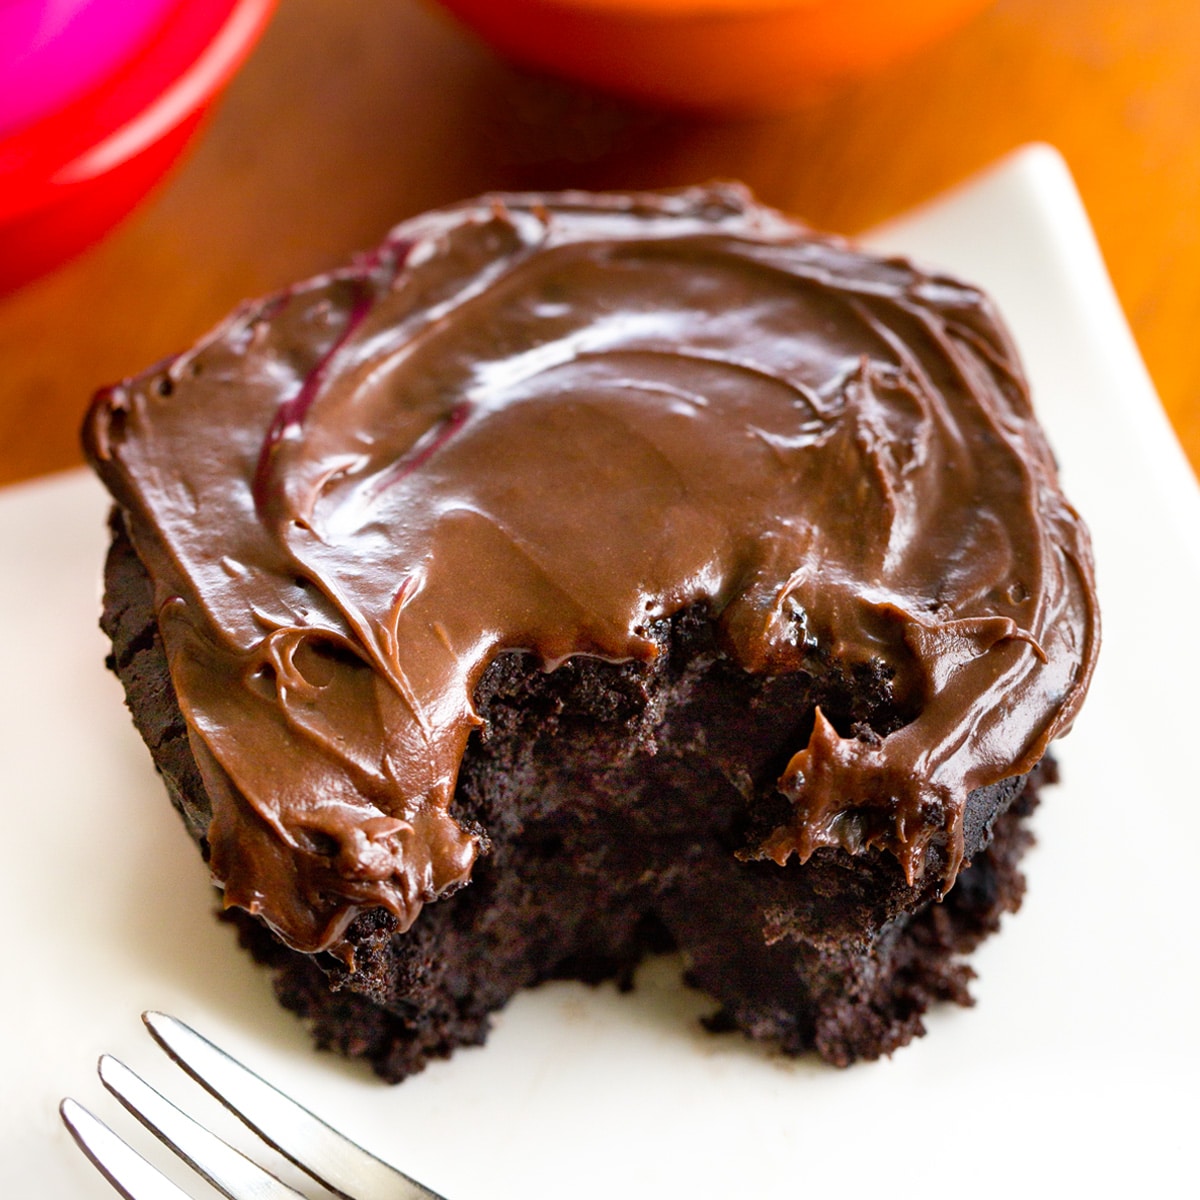
Bob Evans Rolls Recipe Mouthwatering Homemade Delights West Bridge
